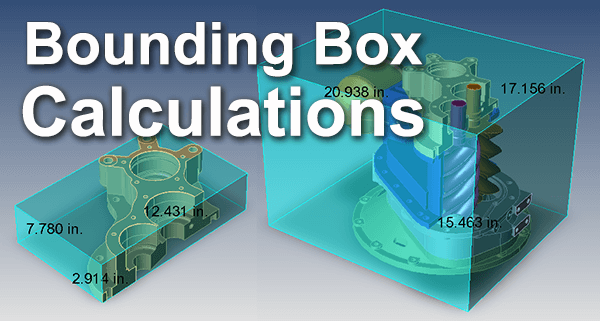
This article will describe how you can get an accurate minimal material estimate for your part using the Bounding Box tool.
A Bounding Box is a ‘box’ that tightly encompasses your part geometry, giving you height, width and length values for the part. These dimensional values can be in any units you desire (this will be address later in the article).
A typical application would be to estimate the minimum size of aluminum block you’d need to machine the part, or to estimate packaging needed for a given part.
In addition to the ‘box’ shape, there is also a ‘bounding cylinder’ and a ‘bounding sphere’ which are available via the drop down list at the bottom of the Bounding Box tool button.
How to Use the Bounding Box Tool
To use the Bounding Box tool, select the part, and then, from the Operations toolbar, select Bounding Box; it’s important to click the upper part of the Bounding Box button since the button flyouts at the bottom have options for a B-Sphere and B-Cylinder.
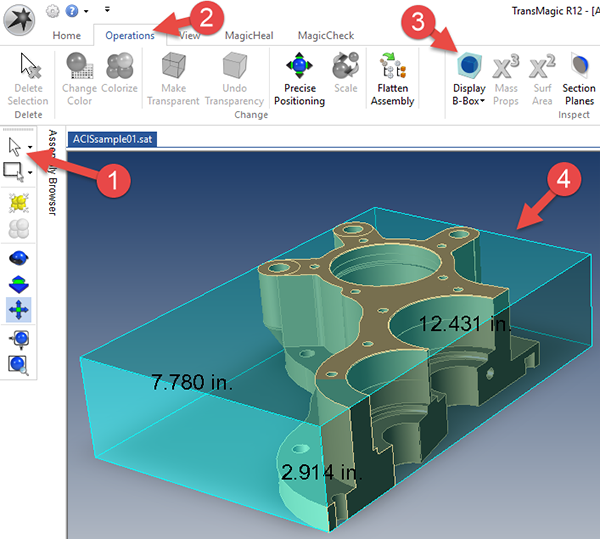
The following step-by-step sequence will reference the image at right, which is coded with four steps:
- Select the part [1] you want to perform a Bounding Box calculation on. You can use the Single Select tool to click on a part; by default, Single Select defaults to Dynamic mode, which means a single click will select a face, a double click will select a part, and so on. You may prefer to set Single Select to Body mode, so that a single click will select an entire solid body. Alternately, you may want to use the Select All tool which will select everything in the file. In any case, your part has to be selected in order to use the Bounding Box tool.
- From the Operations toolbar [2], click the Bounding Box button [3]. Make sure to click the top part of the button, as it is possible to accidentally select one of the other bounding box shapes if you click too far down.
- A Bounding Box [4] should now be created around your part.
Bounding Box Calculation Accuracy
For higher Bounding Box precision, go to Settings > Performance > Calculate Fast Bounding Box, and uncheck the box; this will force a slower but more accurate bounding box calculation. Delete your old bounding box, select the part again, and apply a new bounding box to see the desired result.
Bounding Box Units
The default units for bounding box dimensions are inches, but units are adjustable via Settings > General > Units; plug in inches, millimeters, centimeters, etc., or whichever units are appropriate. Once your units are in place, create a new bounding box to see the desired result.
Bounding Box Orientation
For the best possible bounding box calculation, your part should be oriented to lie flat along the X, Y and Z planes; if for whatever reason your part is skewed, you may wish to reorient the part – that contingency is covered in the following video.