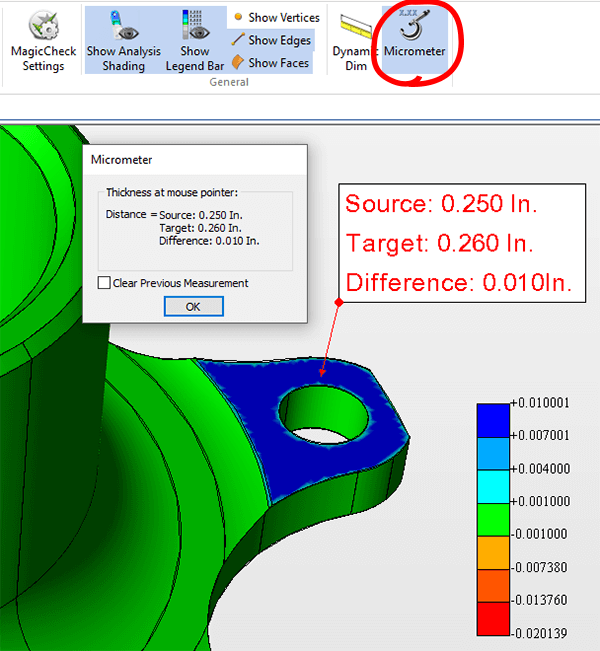
 The MagicCheck Micrometer is a simple yet powerful tool that allows you to easily, instantly and precisely measure discrepancies between two parts.
When the Micrometer tool is used with MagicCheck, it does more than simply calculate part thickness; because the context of MagicCheck is part-to-part comparison, the tool calculates part thickness for both the Source and Target parts, as well as the distance between those parts.
The Source part is always assumed to be the first part selected via the Open Parts dialog box, and the Target part is the second part; the order of Source and Target parts can be modified in the Open Parts dialog.
Micrometer Dialog Box
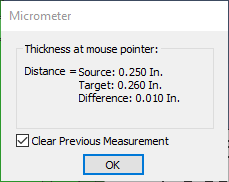
Source & Target thickness information is also shown in the Micrometer dialog box (see figure 1), which can be left active or dismissed by clicking OK.
Clear Previous Measurement will delete previous Micrometer annotations each time a new measurement is applied.
More on the MagicCheck Micrometer tool
- Annotation text is red when selected (as in the above example) and black when deselected.
- Decimal precision is based on MagicCheck Settings, in this case, 0.001 inches. To edit, use Settings > MagicCheck > Part-to-Part > Geom Compare Tol.
- Part thickness is calculated from the point selected by the user, perpendicular to the surface of the part.
- To move an annotation, simply select it with your left mouse button and drag to the desired location.
- To delete an annotation, use the Delete Annotations button on the Operations toolbar.
- To change unit types from Inches to MM or CM, use Settings > Application > General > General Options > Application Units.

